Physical Address
304 North Cardinal St.
Dorchester Center, MA 02124
 Skip to content
Physical Address
304 North Cardinal St.
Dorchester Center, MA 02124

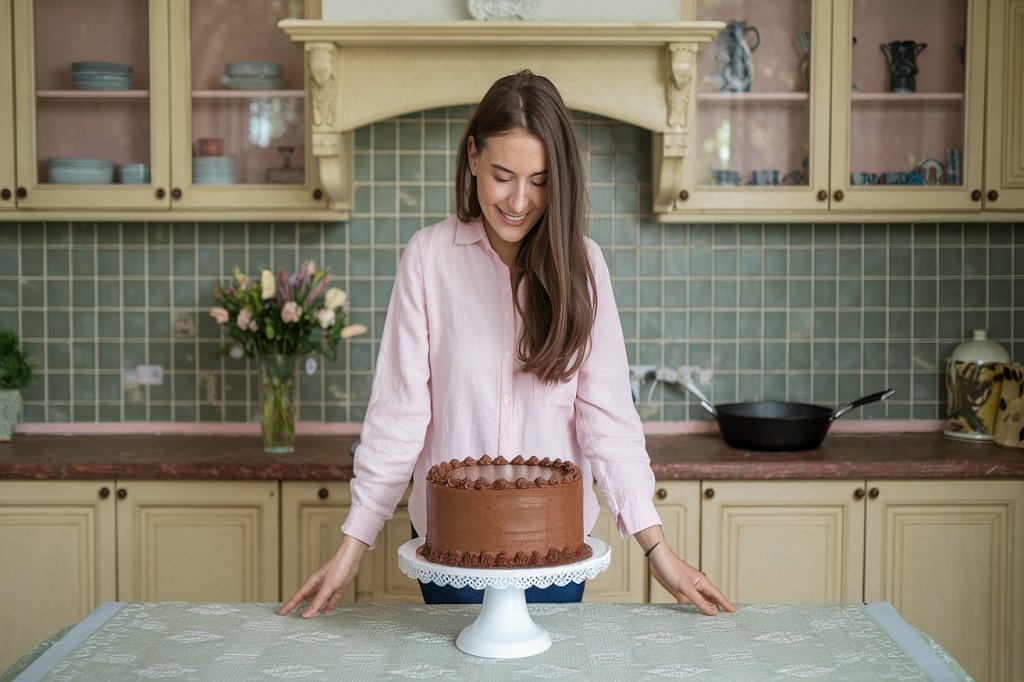
Any cake enthusiast will confess that a chocolate cake never fails to astonish. With its rich flavors and mouthwatering texture, it creates long-lasting memories, thus making it an ideal centerpiece for celebrations or a sympathetic treat when you feel depressed. This simple chocolaty cake recipe is meant for everyone including people who don’t cook so much. To make this moist and delicious cake, you need easily available elements in most homes such as butter, sugar, flour, cocoa powder, egg, or baking powder. Besides being an incredible dessert during festivals and important occasions, this chocolate cake serves as a flexible foundation for more exotic mixtures. So, come and let us get into the kitchen and learn how to make a chocolate cake!
Ingredients
Equipment
To begin, preheat the oven to 350°F (175°C). Grease two 9-inch round cake pans with butter or baking spray before dusting each with flour. In a separate bowl, combine sugar, flour, cocoa powder (unsweetened), soda, and powder to make it rise while being mindful about how much you use. Finally, whisk it all together perfectly to get a well-mixed batter.
After mixing dry ingredients, it is time to combine dry ingredients. Add eggs, vegetable oil, milk, and vanilla extract paying attention to the recommended portions above.
Blend everything with an electric beater on medium speed for about two minutes or by hand, until smooth and uniform. At this point, the batter should start coming together and developing a slight thickness.
As the wet components are being mixed in, slowly add 1 cup of hot water. The boiling water will cause the batter to be thinner, and at the same time, it will also activate the cocoa, enhancing the chocolate flavor. Don’t be frightened if your mixture looks too thin now; that is okay and it will eventually provide very moist cake. Mix everything well so that you get a smooth glossy batter with a perfect consistency.
Once you finish the preparation of the batter, share the batter equally between the two cake pans. Apply flour and oil on them to prevent the cake from sticking. Put down your pans gently on the table for release of trapped air which may have been trapped during the mixing process. Each pan should contain almost equal amounts of batter.
Once you’ve preheated your oven, pop in your pans and bake for 30 to 35 minutes straight. Don’t overbake because it will create a dry cake. This is what guarantees perfect baking. Do not only rely on time as an indicator of doneness. Insert a toothpick into the middle of the cake; if it comes out clean then that means that your cake is done right, but if it collects moist batter on it let it stay in there for extra minutes.
After baking time is complete, do not rush to do anything; instead, let them cool on the pans for about ten minutes or so. After that time, they will still be warm enough to handle but cool enough to avoid burning your hands when turned upside down and placed on wire racks by loosening the sides with a knife. This also aids in the circulation of air, which helps prevent moisture absorption by the bottom parts that could make them soggy. This must be done if you want your cake to stay in fine shape because any type of frosting should only be applied after the whole cake has completely cooled down. Otherwise, anything placed on it might as well end up melting.
It is essential to allow the cake to cool before frosting and ensure the cake layers are consistent in terms of shape and size. If not, you can remove the tops of the cakes using a serrated knife to straighten them for layering purposes.
it’s time to choose a frosting based on your preference and occasion. Popular options such as creamy chocolate frosting, cream cheese frosting, peanut butter frosting, and classic buttercream.
To frost, place one layer on a serving plate and spread an even layer of frosting on top. Add the second layer, then frost the top and sides of the cake. Get creative with decorations, such as sprinkles or piped borders.
The type of frosting largely influences how long cakes can last before going bad. For example, frosted cakes can stay unrefrigerated at room temperature for five days.
A cake that is refrigerated will last 7 days while one left on the table last 3 to 5 days before going stale.
Indeed! You can freeze chocolate cake. Freeze the separate, unfrosted cake layers for optimal results. To do this, just wrap each fully cooled layer in plastic wrap and then a layer of aluminum foil marked with the date. Next, place them in a sealed container for storage purposes for about 3-months. Whenever you want to use the layers, remove them from the freezer then unwrap them, and put them in the fridge to thaw overnight.
 Optimized by Seraphinite Accelerator